With the photo booth wall being my first REAL DIY project I decided to maybe help some people out by given some in depth directions on how I pulled it off….as much as I can anyway. My first piece of advice is to get some help! When I say help I mean someone who knows what they are doing. Yes your MOH or BFF may be crafty, but so am I and this project was on a different level. I knew it would make things easier for me to have a couple of engineers help out. BUT I now realize this project would NOT have even been possible without their expertise.
So moving a long…I took pictures of as much as I could and still unfortunately I missed some shots I wish I could show you. We will work around that. I hope the pictures I have can give you a good idea of what needs to be done. I will also say the pictures are not the best quality.
I then managed to find this website for some how-to-directions. http://quaintoaks.blogspot.com/2011/01/diy-photo-booth-alternative.html. The website was lacking some in depth instructions which is where my engineers came in handy. It definitely inspired me to make a portable easy to move photo wall and showed me how to wrap the plywood with fabric. Some other stuff was adjusted to what I required.
SO what I really needed to get this project started and couldn’t really find was a basic SHOPPING LIST!! So I want to make it easier for you…
Here is what you are going to need.
x2-8’x4’ plywood sheets
x7-2x4x10 hardwood
x4-3” hinges
x6-flat corner brackets
x4-90 degree brackets
x4-2 hole strap hanger
x4-2 hole heavy duty hook
x6-Bolts (8” or bigger)
x6-Butterfly nuts
x3-7’ Moulding (Crown, Base, and Chair rail)
8’ plank paneling
Felt
Fabric
Picture Frames
Paint
Miter saw
Jigsaw
Tape Measure
Pencil
Screws
Nails and hammer OR nail gun
Hammer Tacker OR staple gun
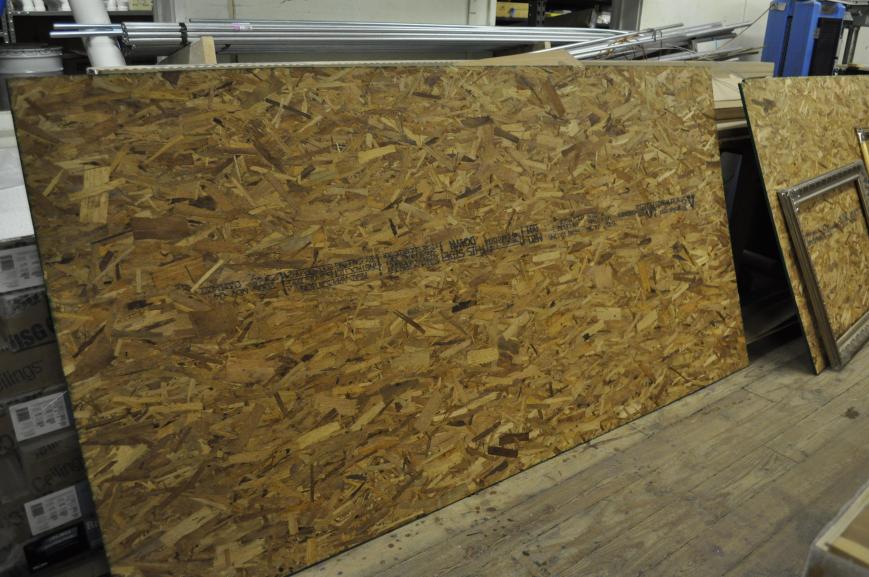
Measure and Mark your plywood. I made a 7×7 photo wall so I am going to share the sizes I used, but if you want to go bigger or smaller you will have to adjust.
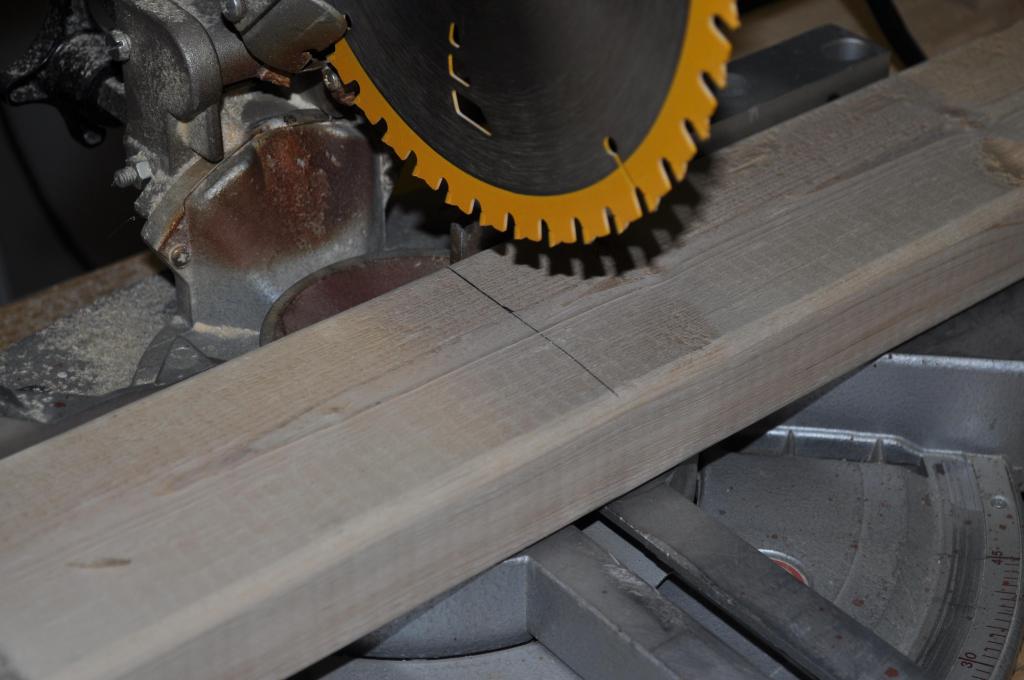
My top piece was 4×7 so I only had to measure and mark the length of the sheet. (Since the original is 4×8) My bottom piece was 3×7. So I measured and mark the length and width. My lovely assistants used the miter saw to cut the sheets. They DID allow me to use the tools as well but with a close eye. I pretty much let them do all the cutting. I did the “ahem” work. (starts with a b). So I painted, screwed, laid fabric, nailed, glued, ect.
Once you have the plywood cut down you can start cutting down your 2x4s. Here are the quantity and lengths you will need.
For the main frame:
4: 3.5’
3: 6’4”
For the support (I don’t remember EXACT size here):
2: 3’5”
2: 7’ (will be mitered to set against frame and floor) Size will have to be customized for you.
2: 6” (used from scrap cut off)
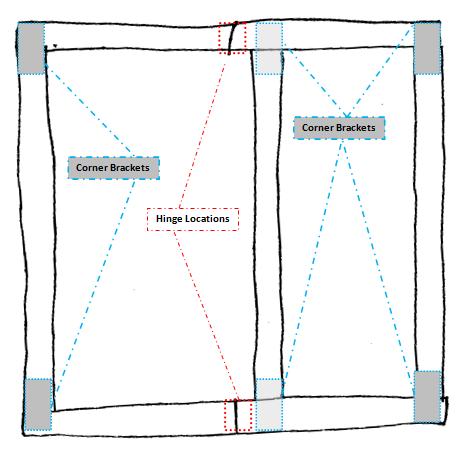
Take the four 3’5” long 2x4s and two 6’4” pieces and lay them on the ground in the shape of a square like this picture with the longer pieces on the sides and the four smaller pieces on the top and bottom.
When it is all laid out you can start to add your brackets and hinges. Screw in four flat corner brackets for each corner. Then screw in two hinges to connect the top and bottom smaller pieces. It should look just like the picture above.
Next, flip the frame over and add the last 6’4” hardwood to the middle of the square frame. It won’t be exactly in the middle it will be off to either side so that the hinges can still fold the frame in half. Then screw the last two corner brackets onto the top and bottom of this piece. These corner brackets should be on the opposite side of the previous ones. So the entire frame should have two brackets on one side in the middle and 4 on the other side on each corner. Hope that makes sense. Then to give it just a bit more support screw in 90 degree brackets into the INSIDE of each corner.
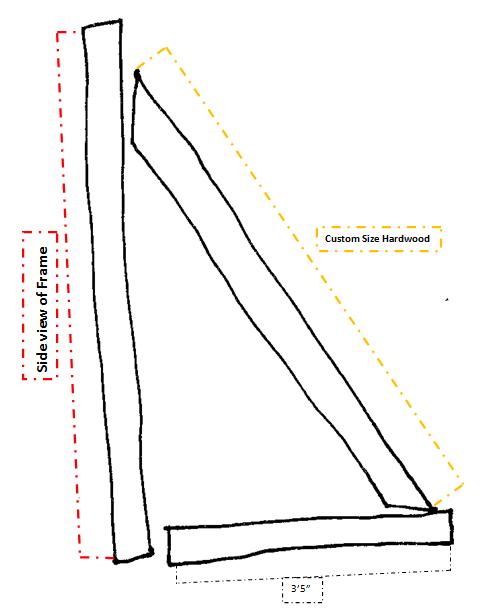
These next steps will require more than two hands so get some help. Stand the frame up and facing the opposite side of the hinges lay down your two 3’5” hardwood on the floor at each bottom corner. While someone is holding up the frame some else can take the two 7’ long 2x4s and mark and miter them. In order to do this just hold the 7’ long piece of wood at an angle on the outside of the frame. Then take marks by drawing a line where the frame lines up with the 7’ long wood on the top. For the bottom draw a line where the 7’ long wood lines up with the 3’5” long wood is laying on the floor. You should now have two marks, one on the top and one on the bottom. Do this for the SECOND 7’ long hardwood.
Take the remaining two hinges and screw them into the two 3’5” long wood and the bottom of the frame. This way they can be folded up when not in use and you don’t have to keep screwing them in EVERY TIME you need to use the wall.
Line your 7’ long piece of wood up and drill two holes through the top of the support board and the frame where you will use your bolts. Then drill one hole through the support board and the base board. Do the same for the second 7’ wood and put your bolts through the hole and use your butterfly nuts to tighten them up. Now your frame should be complete. We originally were going to screw these pieces in but decided using butterfly nuts and bolts would be a much easier assembly everytime you required to use it. That is why he is screwing in the picture and not drilling.
Here is a picture of the back of the frame so you can get an idea where you should be at this point. Minus the plywood hanging on it your frame should look like this and should fold in half.
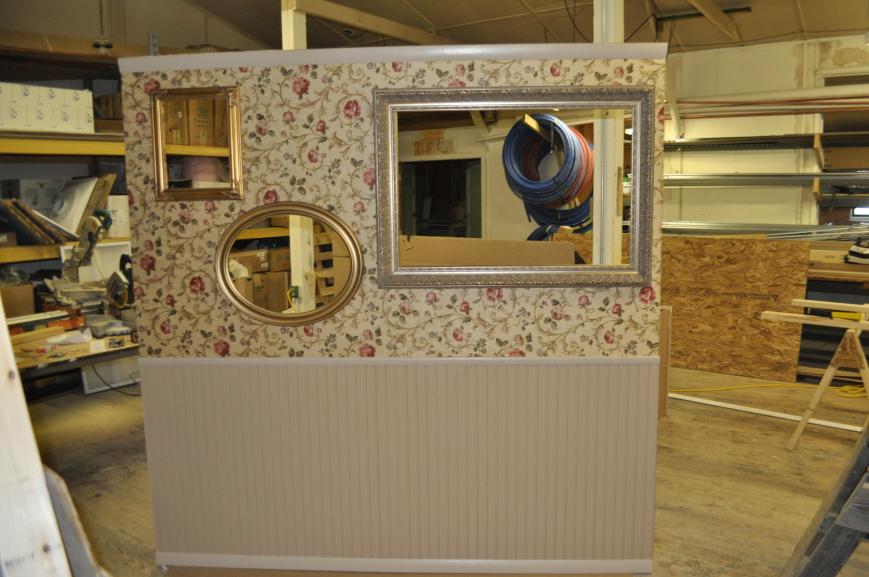
For the pretty part use the bigger piece of plywood (4×7) and trace your frames and cut them out. Next spray the plywood with adhesive spray and lay your felt over it. Take a small piece of wood and run it over everything to flatten out all the air bubbles and make it smooth. Next take scissors or a razor and cut the felt out of the frame holes and off of the edges of the plywood.
Now you want to lay the pretty fabric over the felt and flip it over. Staple the edges of the fabric onto the backside of the plywood. Using a razor cut the fabric from inside the frame holes at an angle like the picture. Pull the fabric tight and staple them onto the back.
Now flip the plywood over again and place your frames over the holes. While someone lines up the frame with the hole, the other person can start to screw the frame to the plywood. MAKE SURE YOUR SCREWS ARE NO LONGER THAN THE WIDTH OF YOUR FRAME AND PLYWOOD TOGETHER. You don’t want the screws coming out the other side. Next nail your PAINTED crowning to the top of the plywood. Putty the nails, sand, and touch up with paint. Screw your 2 hole strap hanger onto the top of your plywood.
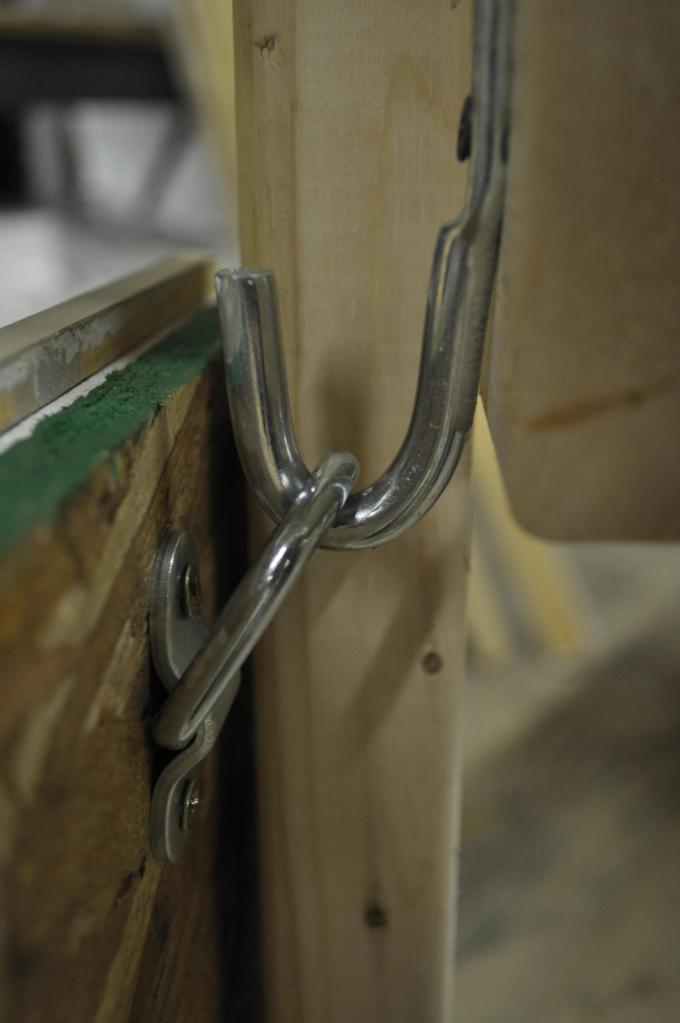
Now put this pretty piece to the side and start on your smaller piece of plywood. Place paneling over the plywood and nail them together all over. Then add your handrail and base molding with nails. When nailing your handrail to the plywood don’t line it up to edge of the plywood, give a little overlay on the top. This allows for the top piece of your photobooth wall to sit right onto your bottom piece when it is all put together. The picture below shows you how the top piece will sit onto the bottom piece when finished. You have to look close to where the two pieces come together to see what I mean.
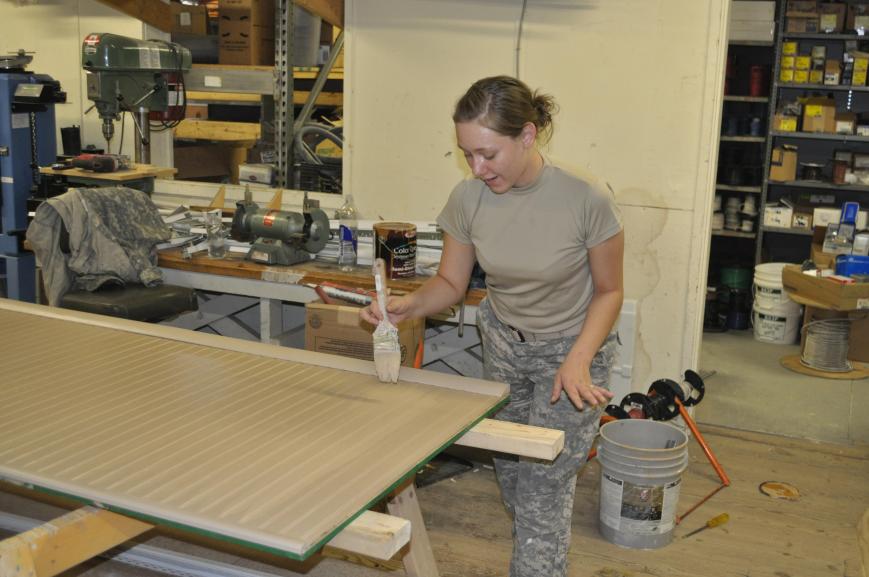
Putty your nails, sand, and prime. After the primer has dried paint it whatever color you would like! Use as many coats as it takes. When your paint is dry you are done with your bottom piece. Screw your 2 hole strap hanger onto the top of your plywood. Yeah pictures below are of me sweating my butt off painting. doing that “AHEM” work I was talking about earlier. 😉
Next part takes 3 people at least. First take the bottom half of your photobooth wall and lean it on your frame. Loop your heavy duty hook into your strap holder and line it up on the frame. Make sure it pulls tight so it actually hangs onto the bottom half. Take your 6” scrap wood and screw it into the back of your frame so it can hold your hook. Screw your hook into the 6” piece of wood.
Do the same for your top half only screw the hook on the back of the frame’s top. Have two people hold the top piece lined with the top of the frame and pulling your hook tight screw your hook into your frame.
Now just hang your bottom half up first and then slip the top half into the small space between the bottom half and the frame and hang it up.
Now you have an awesome photobooth wall! YAY!!!
There is some gibberish in this tutorial and I hope it helped you at least get an idea of how to make a photobooth wall. Please if you have any questions leave me a comment or send me a message from my contact page. If you have a question chances are someone else does as well and I would love to update this post as needed in order to clarify any confusion.
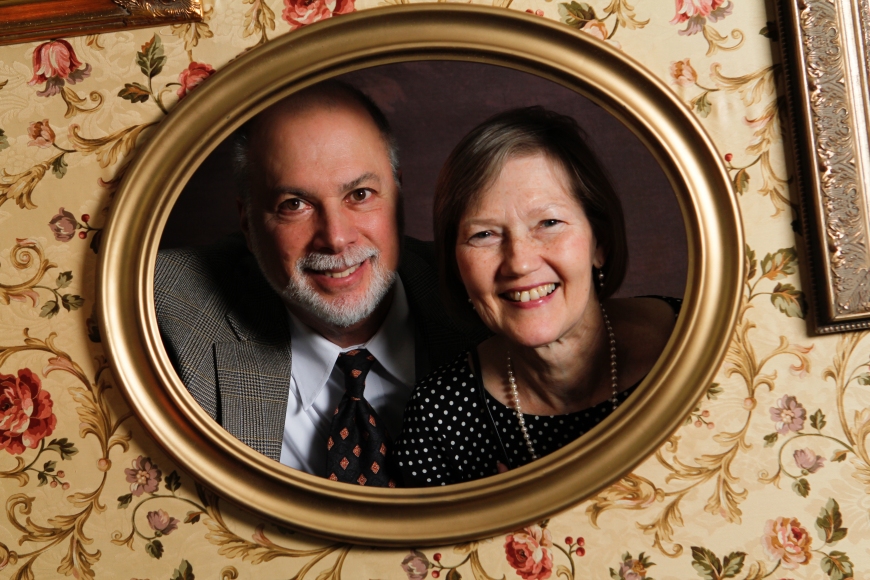
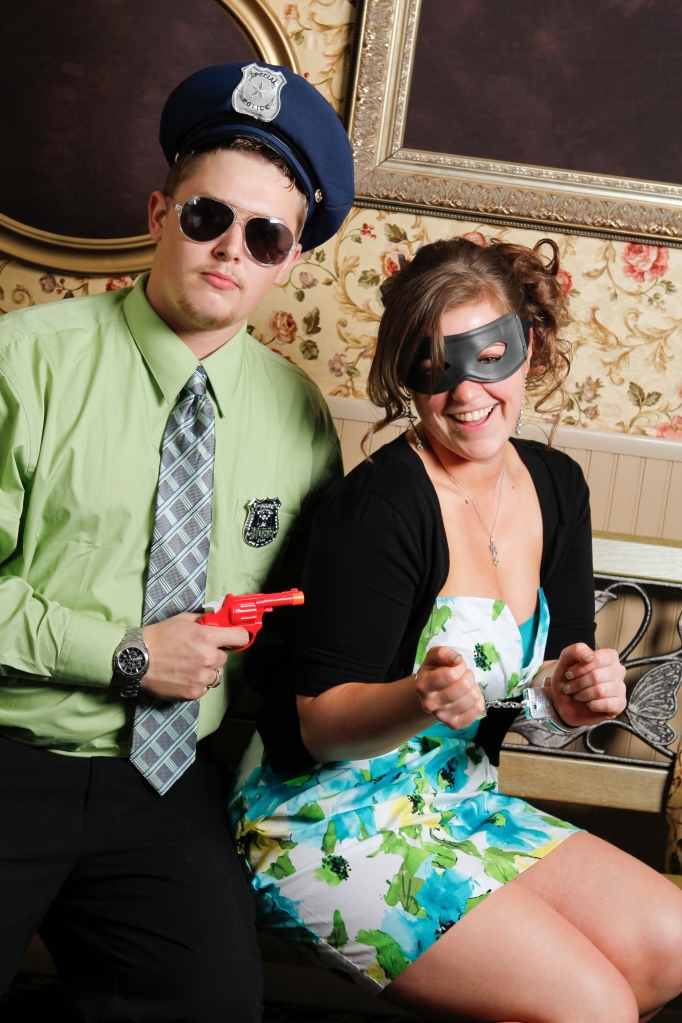
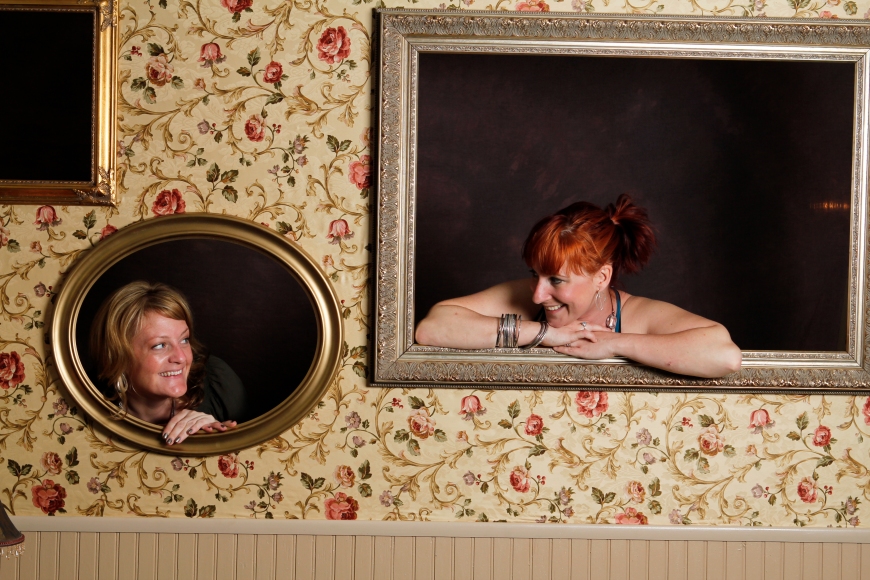
NOW ENJOY THE PICTURES FROM MY WEDDING!!
AND THE AMAZING PHOTOGRAPHERS WHO MADE AND CREATED ALL OF THESE PHOTOS (Nikicham Photography now owns this wall and offers photobooth services. Located Near Philadelphia, PA)















This is really cool! Will have to put this DIY on my to do list…
Jeanna
Its very worth it. Look for sales when you go shopping. My picture frames were all 40%-50% off at Michaels. Otherwise they can be a little pricey. Good luck.
Awesome! Will keep my eyes open for some good deals on frames.
Reblogged this on Frugal Frights and Delights and commented:
I could see this prop a must for event planners or photographers and I’ll be adding this to my DIY to do list.
Could you share what extra lighting you had for the wall? I’m using a
Canon Powershot sx10 IS camera with only a delay timer….no remote available. Keep playiing with extra light for good pictures…was your venue dark? Any help from your experience would be great. Thanks!
My photographer brought an intern (free of charge) to man the photobooth. She is very cool and I am sure she would be fine answering any questions you may have. Here is a link to her website so you can message her. Nikicham Photography
Reblogged this on Daydreams in Chiffon and commented:
This is so cool! Not sure it’ll be something I can do, but definitely something I’d love to help someone else out with!
What was the approximate cost?
I cannot believe I never replied to this post. The cost for me was a little cheaper because I had friends donate supplies. The only thing I really had to purchase on my own were the frames and the fabric. I sold the photobooth wall to my photographer for $300 I think. My total cost was about $150 (maybe a little more), but selling it gave me an extra $150. That is about the only thing that I got money back for on my wedding day. lol. So I made out.
did you also glue the fabric to the felt or just staple it instead? Thanks
I did spray the adhesive onto the felt before I laid the fabric down.
Thanks so much for the info it was very helpful. Have a great day!
I noticed on the photo showing the back of the photowall that the rectangular shaped corner brackets were nowhere to be seen, but there were 90 degree angle brackets holding the center pieces in place. Did you decide to switch to the 90 degree brackets for a specific reason? Thanks so much for your blog posting. It’s VERY informative. I love it!
I used what I had. So I have both the rectangular brackets and the 90 degree brackets. You can just use 6 rectangular brackets…or what you have. The picture that shows the 90 degree brackets in the center is actually the opposite side of where the rectangular brackets are placed. So what you would do is apply four brackets to the corners then FLIP OVER THE FRAME and apply the 2 remaining brackets to the center. It makes the frame sturdier than if you would apply all 6 brackets to the same side. Hope that is clear enough and helps with your question.
This is so great. How did you transport the photobooth wall to your reception location?
The frame folds in half, so we just wrapped everything in plastic and tied it down in the back of a pick up. Our photographer took it home with her in an suv. It was sticking out the back a bit but they tied her trunk down.
I hired someone to build the wall for my son’s wedding. We had so much fun with it, but now I need to try and find someone that could use it for their wedding or other type of party. Do you have any suggestions as to who might be interested. I hate it to go to waste.
Our photographer actually bought it from us. I would check with other brides that live near you. They may be interested. Check out weddingbee.com and the knot.
How much are you asking? I would love this for my daughters wedding. What state are you in?
Where do you live and how much would you want to sale the wall for?
Thanks Jen
The photo booth looks like a great idea – not surprised the photographer bought it!
BTW, your wedding dress was lovely – what make was it?
Honestly, I don’t even remember. I will tell you that it was discontinued the year I bought it. I bought my dress, hair pin, veil, and shoes for about $1000 or less. Including alterations (only because I was lucky enough that it fit me almost perfectly as is). I am so sorry that I do not have anymore information. I just don’t remember.
What’s used for the fabric Glou or what?
Pingback: Amazing DIY Photo Booth Ideas | NewNise
Hi Rita, Can you please tell me the name of the wallpaper pattern you used for this wall? can find it anywhere. Thanks! 😀
It was actually upholstery that I found at joanns fabric store. Not wall paper. Because of the plywood’s texture the wallpaper would have looked rough. So we laid down felt and then a thick fabric over that.
This is so cute! I see the frame supporting the back of the display, but what would prevent it from toppling over forward? Maybe I’m missing something. . . .like high school physics 🙂
Pingback: PEIXENALINHA
Why did you choose to have the frame fold in half horizontally instead of vertically?
Because the instructions I followed did it that way